> For the complete documentation index, see [llms.txt](https://docs.flydean.com/www.flydean.com/llms.txt). Markdown versions of documentation pages are available by appending `.md` to page URLs; this page is available as [Markdown](https://docs.flydean.com/www.flydean.com/docs/spring/02-springboot/00019-springboot-h2.md).
# 19. 在Spring Boot使用H2内存数据库
在之前的文章中我们有提到在Spring Boot中使用H2内存数据库方便开发和测试。本文我们将会提供一些更加具体有用的信息来方便我们使用H2数据库。
## 添加依赖配置
要想使用H2,我们需要添加如下配置:
```xml
org.springframework.boot
spring-boot-starter-data-jpa
com.h2database
h2
runtime
```
## 数据库配置
有了上面的依赖,默认情况下Spring Boot会为我们自动创建内存H2数据库,方便我们使用,当然我们也可以使用自己的配置,我们将配置写入application.properties:
```txt
spring.datasource.url=jdbc:h2:mem:testdb
spring.datasource.driverClassName=org.h2.Driver
spring.datasource.username=sa
spring.datasource.password=password
spring.jpa.database-platform=org.hibernate.dialect.H2Dialect
```
默认情况下内存数据库会在程序结束之后被销毁,如果我们想永久保存内存数据库需要添加如下配置:
```txt
spring.datasource.url=jdbc:h2:file:/data/demo
```
这里配置的是数据库的文件存储地址。
## 添加初始数据
我们可以在resources文件中添加data.sql 文件,用来在程序启动时,创建所需的数据库:
```sql
DROP TABLE IF EXISTS billionaires;
CREATE TABLE billionaires (
id INT AUTO_INCREMENT PRIMARY KEY,
first_name VARCHAR(250) NOT NULL,
last_name VARCHAR(250) NOT NULL,
career VARCHAR(250) DEFAULT NULL
);
INSERT INTO billionaires (first_name, last_name, career) VALUES
('Aliko', 'Dangote', 'Billionaire Industrialist'),
('Bill', 'Gates', 'Billionaire Tech Entrepreneur'),
('Folrunsho', 'Alakija', 'Billionaire Oil Magnate');
```
Spring Boot在启动时候会自动加载data.sql文件。这种方式非常方便我们用来测试。
## 访问H2数据库
虽然是一个内存数据库,我们也可以在外部访问和管理H2,H2提供了一个内嵌的GUI管理程序,我们看下怎么使用。首先需要添加如下权限:
```txt
spring.h2.console.enabled=true
```
启动程序, 我们访问 ,得到如下界面:

记得填入你在配置文件中配置的地址和密码。
登录之后,我们可以看到如下的管理界面:
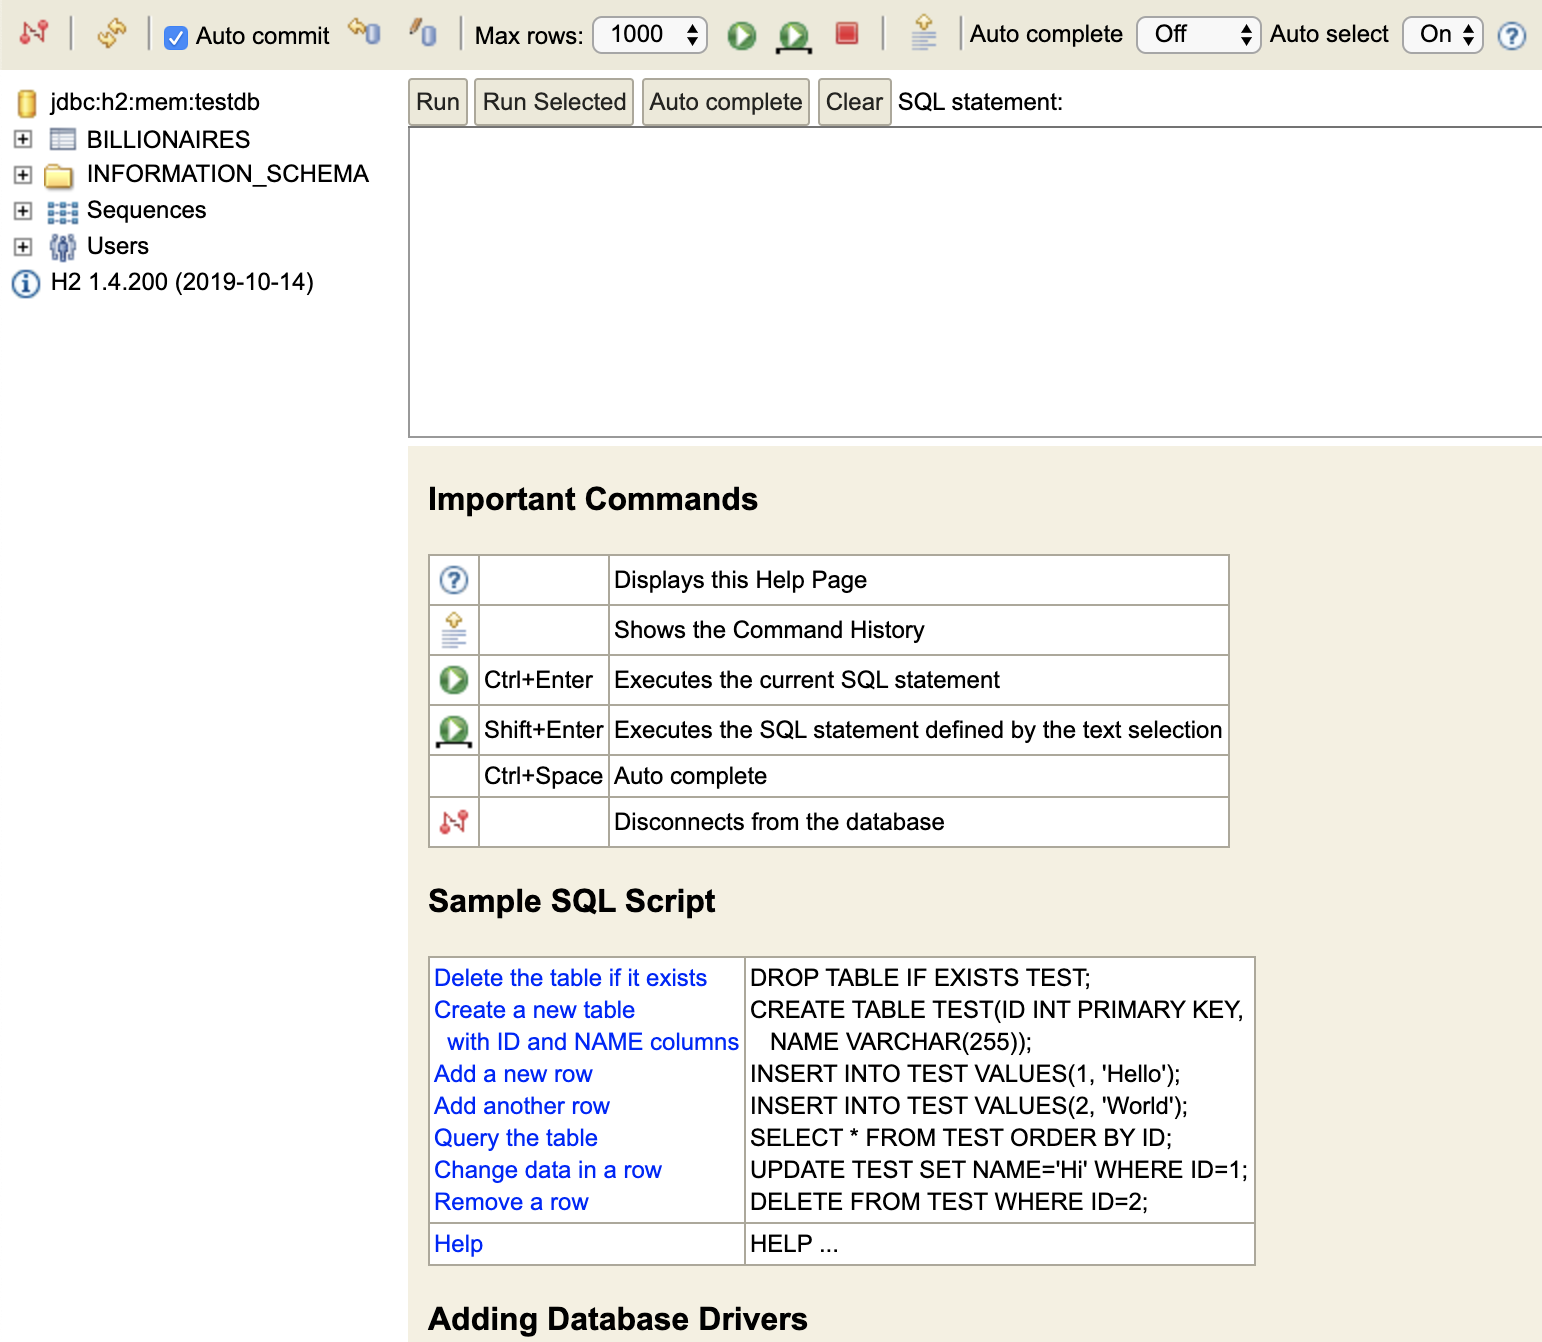
我们还可以添加如下配置来管理这个GUI:
```txt
spring.h2.console.path=/h2-console
spring.h2.console.settings.trace=false
spring.h2.console.settings.web-allow-others=false
```
其中path指定了路径,trace指定是否开启trace output,web-allow-others指定是否允许远程登录。
本文的例子可以参考